analitics

Pages

Saturday, May 26, 2018

Blender 3D and Roblox with Python .

I spend my free time with my son playing Roblox and in the meantime, I try to introduce him to the world of computers.
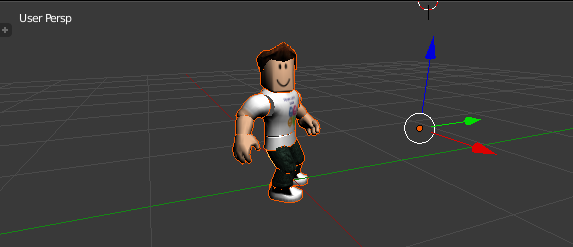
However, you can download the player as a 3D object and use it as an avatar.
Here's an issue: The 3D object is hard to set with origins for animation but python and Blender 3D can easily solve this.
You can use BMesh.
As you know:
BMesh is the new Blender mesh system in 2.63, with full support for N-sided polygons instead of only triangles and quads.
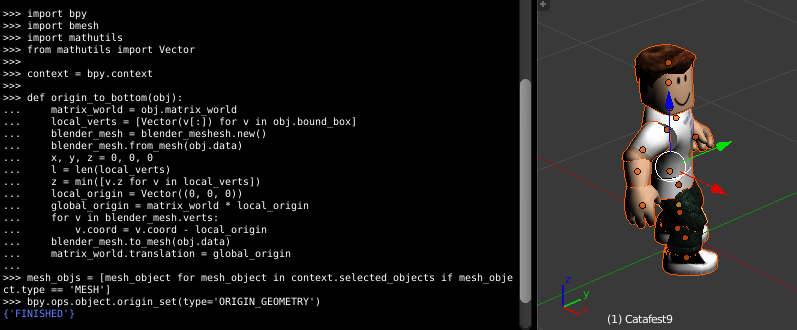
The result of this download 3D object has a bad origin:

Let's see the source code:
import bpy
import bmesh
import mathutils 
from mathutils import Vector

context = bpy.context

def origin_to_bottom(obj):
    matrix_world = obj.matrix_world
    local_verts = [Vector(v[:]) for v in obj.bound_box]
    blender_mesh = blender_meshesh.new()
    blender_mesh.from_mesh(obj.data)
    x, y, z = 0, 0, 0
    l = len(local_verts)
    z = min([v.z for v in local_verts])
    local_origin = Vector((0, 0, 0))
    global_origin = matrix_world * local_origin
    for v in blender_mesh.verts:
        v.coord = v.coord - local_origin
    blender_mesh.to_mesh(obj.data)
    matrix_world.translation = global_origin

mesh_objs = [mesh_object for mesh_object in context.selected_objects if mesh_object.type == 'MESH']
bpy.ops.object.origin_set(type='ORIGIN_GEOMETRY')

for my_objects in mesh_objs:
    origin_to_bottom(my_objects)
The result is this:

Saturday, April 28, 2018

Python 3.6.4 : Testing OpenCV default Hough Line Transform.

This tutorial is about Hough Line Transform and OpenCV python module.
This can be a good example for Hough Line Transform.
See the source code:
import cv2
import numpy as np
img = cv2.imread('test_lines.jpg')
gray = cv2.cvtColor(img, cv2.COLOR_BGR2GRAY)

# filter black and gray pixels
thresh = cv2.threshold(gray, 100, 255, cv2.THRESH_BINARY_INV)[1]

# find lines
lines = cv2.HoughLinesP(thresh, 1, np.pi/180,360,18)

# output lines onto image
for line in lines:
    x1,y1,x2,y2 = line[0]
    cv2.line(img,(x1,y1),(x2,y2),(255,255,0),2)

# show image
cv2.imshow('threshold houghlines', img)
cv2.waitKey(0)
cv2.destroyAllWindows()
This is the result for test_lines.jpg .

You can test by make changes into this line of code:
lines = cv2.HoughLinesP(thresh, 1, np.pi/180,360,18)
According to documentation, the changes are influenced by the range parameters.