Today, I created the first Python extension for Inkscape, and although in theory, it seems easy, it is not really so.
You have to study a little and search the web, but I created a tutorial on one of my website.
The idea is to use at least two files with different extensions.
I named one catafest_extension.inx and the other catafest_extension.py.
For the Python file, I used this source code:
#!/usr/bin/env python
# coding=utf-8
#
# Copyright (C) 2023 Catalin George Festila, catafest@yahoo.com
#
"""
Simple test extension for inkscape
"""
import inkex
# add by me
from lxml import etree
def draw_SVG_square(w,h, x,y, parent):
style = { 'stroke' : 'none',
'stroke-width' : '1',
'fill' : '#0000FF'
}
attribs = {
'style' : str(inkex.Style(style)),
'height' : str(h),
'width' : str(w),
'x' : str(x),
'y' : str(y)
}
patrat = etree.SubElement(
parent, inkex.addNS('rect','svg'), attribs )
return patrat
class MyExtension(inkex.Effect):
def __init__(self):
super().__init__()
def effect(self):
self.msg("This is an empty extension created by catafest !")
parent = self.svg.get_current_layer()
draw_SVG_square(100,100, 0,0, parent)
if __name__ == '__main__':
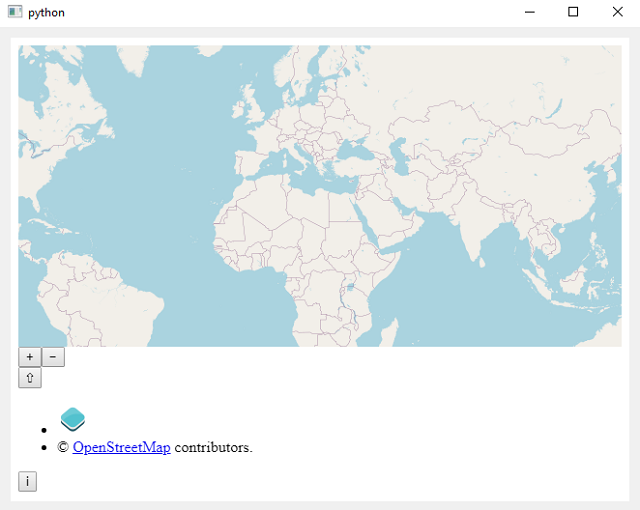
MyExtension().run()The result is this