The ellipsoid may be parameterized in several ways but I used the sin and cos functions:
x = sin(theta) * sin(phi)
y = cos(theta) * sin(phi)
z = cos(phi)
The steps I follow are:
- make points of ellipsoid - CoordsPoints
- define an ellipsoid vectors
- create a new mesh
- make rings for faces
- make an ellipsoid
- The verts_mesh and verts_mesh_face are used to make faces
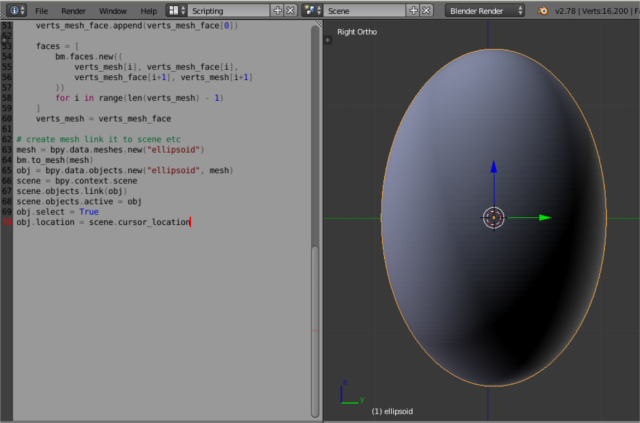
- put all into the Blender 3D scene
import bpy
import bmesh
from math import degrees, radians, sin, cos, tan
from mathutils import Vector


class CoordsPoints:
    @property
    def xyz(self):
        theta = self.theta
        phi = self.phi
        x = sin(theta) * sin(phi)
        y = cos(theta) * sin(phi)
        z = cos(phi)
        R = self.R
        return R * Vector((x,y,z))

    def __init__(self, R, theta, phi):
        self.R = R
        self.theta = theta
        self.phi = phi
        #self.xyz = self.point(theta, phi)

    def __repr__(self):
        return "Coords(%.4f, %.4f)" % (degrees(self.theta),
                                               degrees(self.phi))
# define the ellipsoid method.
def ellipsoid(a, b, c):
    def ellipsoid(v):
        x = a * (v.x)
        y = b * (v.y)
        z = c * (v.z)
        return Vector((x, y, z))
    return ellipsoid

# make the ellipsoid bmesh
bm = bmesh.new()

# TODO come up with a nicer way to do this.
rings = [[CoordsPoints(1, radians(theta), radians(phi))
                 for theta in range (0, 360, 2)]
                 for phi in range(0, 180, 2)]

h = ellipsoid(1.0, 1.0, 1.5)

verts_mesh = [bm.verts.new(h(p.xyz)) for p in rings[0]]
verts_mesh.append(verts_mesh[0])
for ring in range(1, len(rings)):

    verts_mesh_face = [bm.verts.new(h(p.xyz)) for p in rings[ring]]
    verts_mesh_face.append(verts_mesh_face[0])

    faces = [
        bm.faces.new((
            verts_mesh[i], verts_mesh_face[i],
            verts_mesh_face[i+1], verts_mesh[i+1]
        ))
        for i in range(len(verts_mesh) - 1)
    ]
    verts_mesh = verts_mesh_face

# create mesh link it to scene
mesh = bpy.data.meshes.new("ellipsoid")
bm.to_mesh(mesh)
obj = bpy.data.objects.new("ellipsoid", mesh)
scene = bpy.context.scene
scene.objects.link(obj)
scene.objects.active = obj
obj.select = True
obj.location = scene.cursor_location