The goal of this tutorial is the download and load into the python script of a youtube video.
To do that we need another two modules python.
First, I download and install the python 2.7.12 32 bit version from the internet.
C:\Python27>python.exe
Python 2.7.12 (v2.7.12:d33e0cf91556, Jun 27 2016, 15:19:22) [MSC v.1500 32 bit (
Intel)] on win32
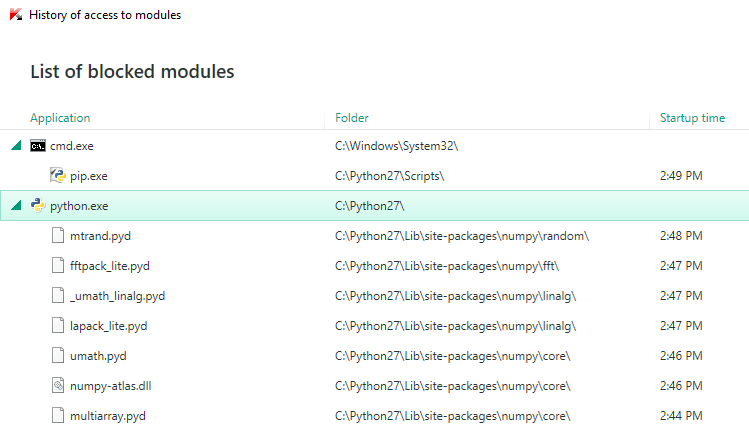
Type "help", "copyright", "credits" or "license" for more information.First update the pip tool and install numpy python module:
C:\Python27\Scripts>python -m pip install --upgrade pip

Collecting pip

Downloading pip-9.0.1-py2.py3-none-any.whl (1.3MB)

100% |################################| 1.3MB 419kB/s

Installing collected packages: pip

Found existing installation: pip 8.1.1

Uninstalling pip-8.1.1:

Successfully uninstalled pip-8.1.1

Successfully installed pip-9.0.1

C:\Python27\Scripts>pip install numpy

Collecting numpy

  Downloading numpy-1.11.2-cp27-none-win32.whl (6.5MB)

    100% |################################| 6.5MB 79kB/s

Installing collected packages: numpy

Successfully installed numpy-1.11.2
The main reason to have the numpy python module: it is often used with OpenCV python module.
For OpenCV python module installation you need to see my tutorial.
After you install it, test the OpenCV python module:
C:\Python27>python.exe

Python 2.7.12 (v2.7.12:d33e0cf91556, Jun 27 2016, 15:19:22) [MSC v.1500 32 bit (

Intel)] on win32

Type "help", "copyright", "credits" or "license" for more information.

>>> import cv2

>>> print cv2.__version__

3.0.0
Install pafy python module.
This module help you to download video from youtube but you need also the youtube-dl python module.
So let's install the youtube-dl and pafy python modules.
C:\Python27>cd Scripts

C:\Python27\Scripts>pip install youtube-dl

Collecting youtube-dl

  Downloading youtube_dl-2016.12.1-py2.py3-none-any.whl (1.5MB)

    100% |################################| 1.5MB 377kB/s

Installing collected packages: youtube-dl

Successfully installed youtube-dl-2016.12.1

C:\Python27\Scripts>pip install pafy

Collecting pafy

  Downloading pafy-0.5.2-py2.py3-none-any.whl

Installing collected packages: pafy

Successfully installed pafy-0.5.2
I make a simple python script named: get_yt.py.
The source code of this script is simple:
import os

import pafy

# Download the video

video = pafy.new('https://www.youtube.com/watch?v=O5VCjktWVD4')

print "video.title"

print video.title

print "video.rating"

print video.rating

print "video.viewcount, video.author, video.length"

print video.viewcount, video.author, video.length

print "video.duration, video.likes, video.dislikes"

print video.duration, video.likes, video.dislikes

print "video.description"

print video.description

resolution = video.getbestvideo(preftype="mp4")

print "resolution"

print resolution

input_movie = resolution.download(quiet=False)

print "input_movie"

print input_movie

print "delete movie"

os.remove(input_movie)
I used the URL of a video clip from youtube channel of Arden Cho to tested.
If you want to keep the video into your folder just remove the last line from the python script.
The result is this output:
C:\Python27>python.exe get_yt.py
video.title
Can't Help Falling in Love With You - Arden Cho
video.rating
4.99041318893
video.viewcount, video.author, video.length
10980 ardenBcho 168
video.duration, video.likes, video.dislikes
00:02:48 1665 4
video.description
Recorded this song a couple months ago when I was in Boston, this song always reminds
me of holidays and love so sharing that with you!
Guitar by Koo Chung https://youtube.com/koochung
Violin and Video editing/production by Daniel Jang https://www.youtube.com/metal
sides
Production + Keys by Tim Bongiovanni https://www.northgateproductions.net
Filmed by Rob Mark https://www.instagram.com/rmarq_
If you like my music comment and SHARE! You can also support me by buying & rati
ng my album on iTunes!! https://itunes.apple.com/us/album/my-true-happy/id592588
859
You can follow me at: SnapChat: ardencho
http://www.instagram.com/arden_cho
http://www.facebook.com/hiardencho
http://www.twitter.com/arden_cho
http://www.imdb.me/ardencho
resolution
video:mp4@1920x1080
input_movie5 Bytes [100.00%] received. Rate: [5371 KB/s]. ETA: [0 secs]
Can't Help Falling in Love With You - Arden Cho.mp4
delete movie